
Getting an accurate worm count for your sheep and goats, or a coccidia check for your rabbits, starts before the sample ever reaches our lab. It all begins with getting a fresh, uncontaminated sample.
A contaminated or old sample can give a false reading, meaning you might deworm your flock when it’s not needed, or worse, not deworm them when it is. With this guide, you’ll collect the perfect sample, easily and correctly, every time.
Why Test an Individual?
Testing an individual animal is the most powerful tool you have. It allows you to move beyond “herd-wide” guesses and make critical, data-driven decisions. But how do we get a clean, fresh sample from a specific individual in a flock?
It’s a common problem, and the answer is simple: brief isolation. This doesn’t need to be stressful or take long – the goal is just to watch the animal until it passes manure. Offer a small amount of hay or feed to keep them relaxed and calm while you wait.
“Herd averages” can give a false picture. High shedders push the average up, so some individuals might be treated when they don’t need it. Low shedders pull it down, meaning others with heavier worm burdens could be missed.
Testing individual animals is a smart, modern management practice that answers specific, high-value questions:
- Is my dewormer working? (Testing 1-2 weeks after deworming is the only way to check for resistance).
- Is this “poor-doer” sick from parasites? (Find out before you spend money on other treatments).
- Is a new individual safe to introduce? (A “quarantine test” is critical to protect your yard).
- Who is my “high-shedder”? (Studies show 20% of the group can be responsible for 80% of the parasites. Find and manage them!).
The “Golden Rules” for a Perfect Sample
Before you even put on your gloves, there are three rules that make the difference between a testable sample and a useless one.
- Freshness is Everything. This is the most important rule. You must collect the sample when it is as fresh as possible (ideally, less than 4 hours old). Why? Because parasite eggs begin to hatch and die as soon as they’re exposed to air and temperature changes. A sample that’s a old, or one that’s been baking in the sun, will give a “false negative” (a low count, even if your cow has a high burden). The best sample is one you’ve just seen being passed.
- Avoid Contamination. Do not take manure that is heavily mixed with dirt, sand, wood shavings, or straw. A little bit of bedding is okay, but handfuls of it will interfere with the lab analysis.
- Keep it Cool (But Don’t Freeze it). Never, ever leave your sample in a hot car or on a sunny windowsill. Heat is the #1 enemy of a good sample. Store it in a cool, dark place (a fridge is perfect) until you’re ready to post it. Do not freeze the sample, as this will destroy the eggs.
What You’ll Need
- Your Paragon Scientific Test Kit (which includes a sample bag and disposable glove)
- A pen to complete your Information Sheet (also included in your Kit)
- Return packaging (you guessed it, also in your Test Kit)
- Fresh sheep/goat/rabbit droppings
5 Step Guide to Perfect Collection

Step 1: Find the Freshest Pile
Look for the freshest manure you can find. The fresher the sample, the more accurate the results.
With only a few individuals in your herd, you may want to test individually, with larger herds a group sample can be sent. We advise one sample per 10 sheep/goats.

Step 2: Collect a Representative Sample
This is a pro-tip for the most accurate result. Don’t just grab the pellets from the top. Use the glove provided to take pellets from different areas of the pile. This gives a much better average of the entire dropping. Avoid picking up soil, bedding, or sand as these can contaminate the sample.
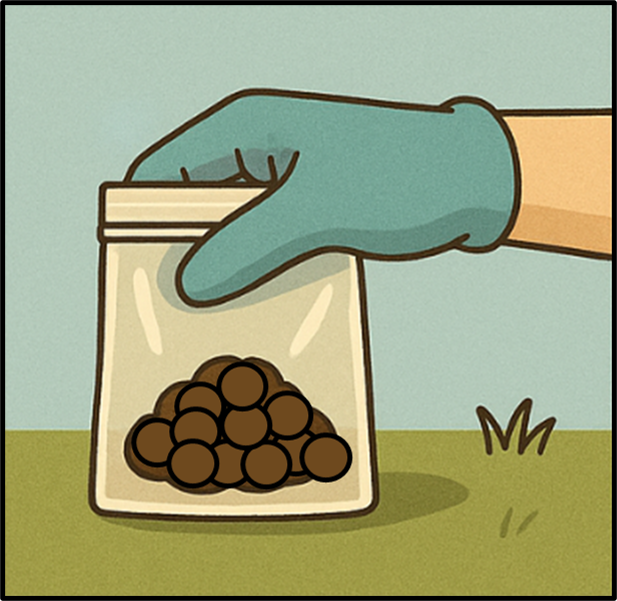
Step 3: Fill the Bag
You need to provide enough manure for us to test. Fill the sample bag and press out any excess air, then seal the bag tightly to keep the sample fresh and secure.
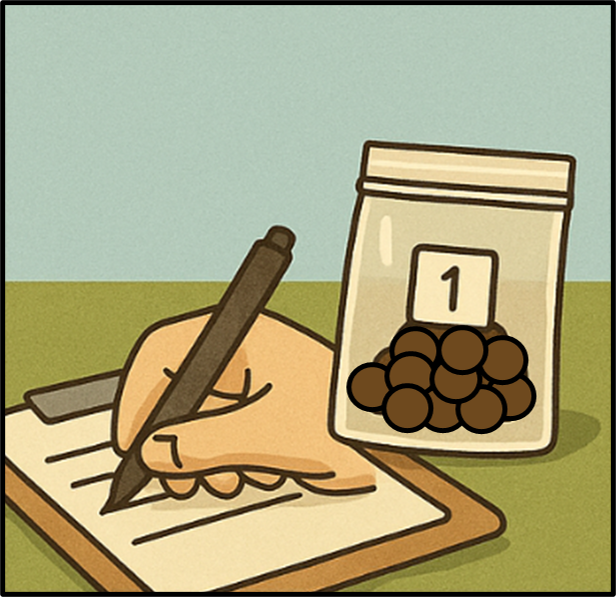
Step 4: Record the Details
Fill out the information sheet completely and accurately. Ensure the number on the sample bag matches the details on the sheet – this allows your sample to be correctly identified at the lab.
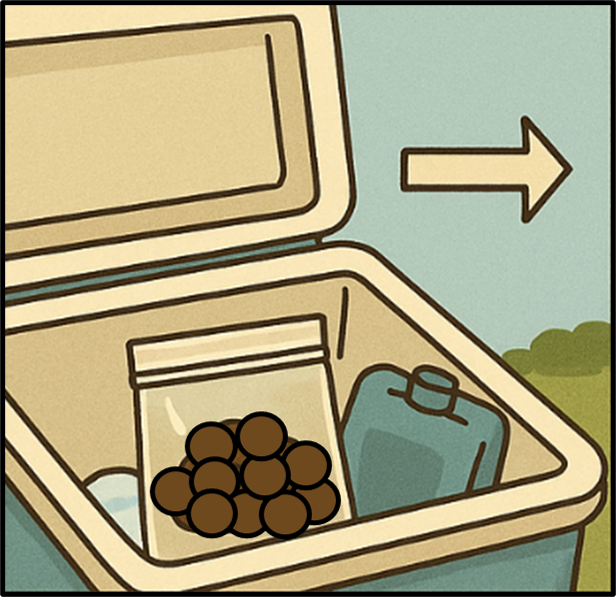
Step 5: Pack and Post
Once collected and ready for returning, place the sample, Information Sheet and provided ice brick into the return packaging. You can either return your kit yourself or contact us to arrange courier collection (depending on your selection made at checkout).
For the most accurate results we advise that you post the sample back to our lab on the same day you collected it.
If you plan to return your kit the day after collecting your sample, keep it in the fridge overnight. Do not freeze it or leave it in the sun.
Return your sample on Mondays – Wednesdays and keep in mind potential delivery delays on weekends and public holidays.
You’re Ready to Test!
Now that you’re a pro at sample collection, you’re ready to get the data you need to build a smart deworming plan. Testing, not guessing, is the cornerstone of responsible animal ownership and helps fight the growing problem of dewormer resistance.